I was so excited to work on a quilt for the lovely Lelly. She’s one of those people who is completely selfless – loyal to the core, honest and true, sweet and thoughtful, and full of true joy. Over many years in SF – some good, some tough – she was a constant that kept me above water. In my last years in SF we walked to work together almost every morning, dissecting the day before, prepping for the day to come. She’s that friend that I will be eternally grateful for.
The first phase of any quilt is spinning designs through my brain. Sometimes it’s easy: a person will conjure a specific style and color palate and the pattern becomes obvious quickly. Other times, it feels impossible to find the perfect fit. Finding the right quilt for Leslie was difficult – the color was easy (teal/peacock or purples), but for the pattern was churning ideas around for ages, never feeling quite right about the possibilities. When I found Freshly Pieced‘s stunning grey herringbone quilt it finally felt like a fit.
Herringbone’s name stems from the skeleton of a fish (like a herring!). But herringbone as a pattern originated from the arrangement often used for tile floors or brick roads. The symbolism only came to me much later as I looked back on so many mornings walking to work with Leslie – she’s been my symbolic and literal guide down so many roads in life.
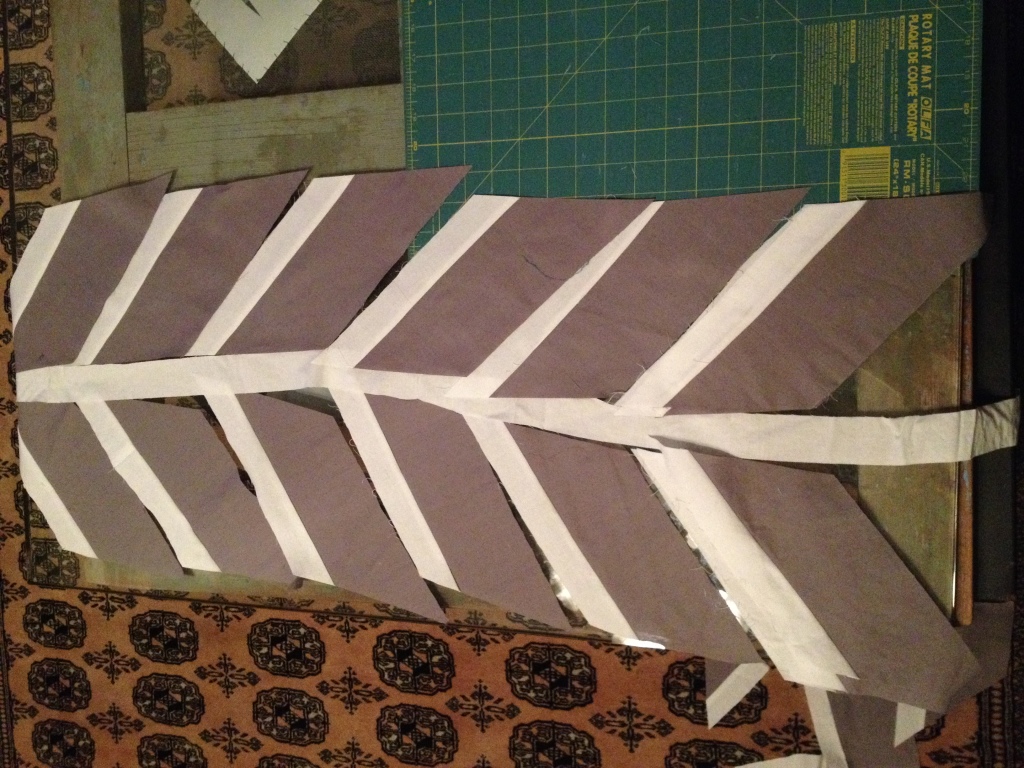
And so it began:
For those of you new to quilting, here’s a sidebar about pinning: when you live in a tiny apartment in SF, pinning is a pain! I finally have a system down, and here it is:
- I move all the furniture out of my kitchen (much to my husband’s dismay!). Lay the back of your quilt face down on the floor.
- Using packing tape around the edges (about every 6 inches), pull the back as taught as possible. Make sure there are no wrinkles or creases.
- Carefully set down your batting (this part works much better with two people – ahem husband), and pull it flat, ensuring it’s aligned correctly to your back.
- Set down the top of your quilt to line up with the batting.
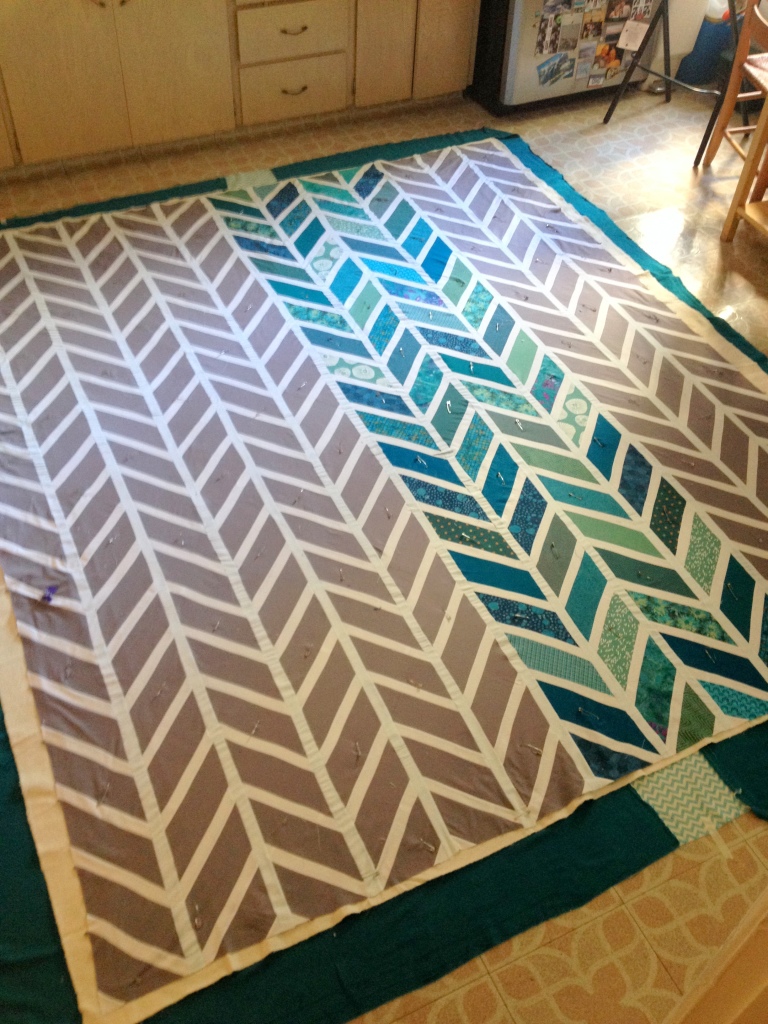
- Starting in the center of your quilt, pin through all three layers with safety pins (any pins will work, but I find that the curved ones made for quilting are much easier to use). Carefully smooth the layers as you move in a spiral outwards, ensuring there are no creases in any of your layers. Pin about every 4-6 inches (it feels like overkill, but it will save you when you’re quilting).
Here is the quilt mid-pinning:
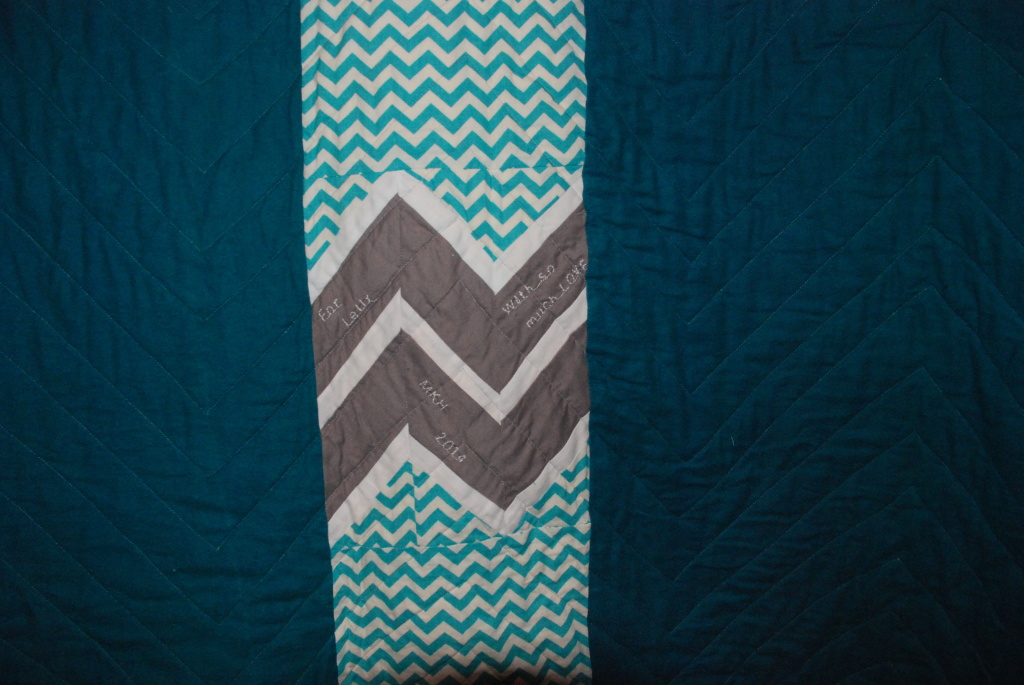
And finally, here’s a fun back detail – no quilt is complete without it! 🙂


Andrea
Your quilt turned out wonderfully! I was admiring the quilt on Freshly Pieced as well, because I think I finally found the quilt I would like my mom to make me. Do you know if there is a pattern somewhere? or how much fabric you used? Thanks =)
mkoehlerhanlon@gmail.com
Hi Andrea! Thanks for checking out the site!
I made the pattern myself, but this might be a good place to start: hhttp://thediymommy.com/sew-an-easy-herringbone-chevron-baby-quilt/). You’ll just want to add the additional white sashing between each piece (I sewed the white and grey pieces together in strips and then cut the angled rectangles out of that). And then you’ll place a second series of white sashing between the strips you create from the rectangles. Let me know if you or your mom have questions – happy to help! 🙂